How do you use virtual reality goggles?
Virtual reality (VR) technology has revolutionized the way we interact with digital content and opened up new possibilities for various industries such as gaming, healthcare, education, and more. If you are a virtual reality developer, knowing how to use VR goggles is essential to create immersive experiences for your users.
Step 1: Choose the Right VR Goggles
There are various types of VR goggles available in the market such as Oculus Rift, HTC Vive, and PlayStation VR. Each of these goggles has its unique features that you need to consider before choosing one. For instance, if you want a wireless VR experience, then Oculus Quest 2 might be an excellent option for you. On the other hand, if you are looking for a high-end VR experience with superior graphics, then HTC Vive Pro Eye could be the right choice for you.
Step 2: Connect Your Goggles to Your Computer

Once you have chosen your VR goggles, the next step is to connect them to your computer. For Oculus Rift and HTC Vive, you will need a VR link cable to connect your headset to your PC. You can connect the cable to your computer’s USB port or HDMI port, depending on the specific requirements of your goggles.
Step 3: Install VR Software
After connecting your VR goggles to your computer, you need to install the software required for VR. The most popular VR software is Oculus Home, which is compatible with Oculus Rift and HTC Vive. Once you have installed the software, you can launch VR applications or games from within the software.
Step 4: Set Up Your VR Environment
Before putting on your VR headset, you need to set up your VR environment. This involves setting up the tracking sensors and calibrating the headset. You can follow the instructions provided by the manufacturer of your goggles to set up your VR environment correctly.
Step 5: Put On Your Headset
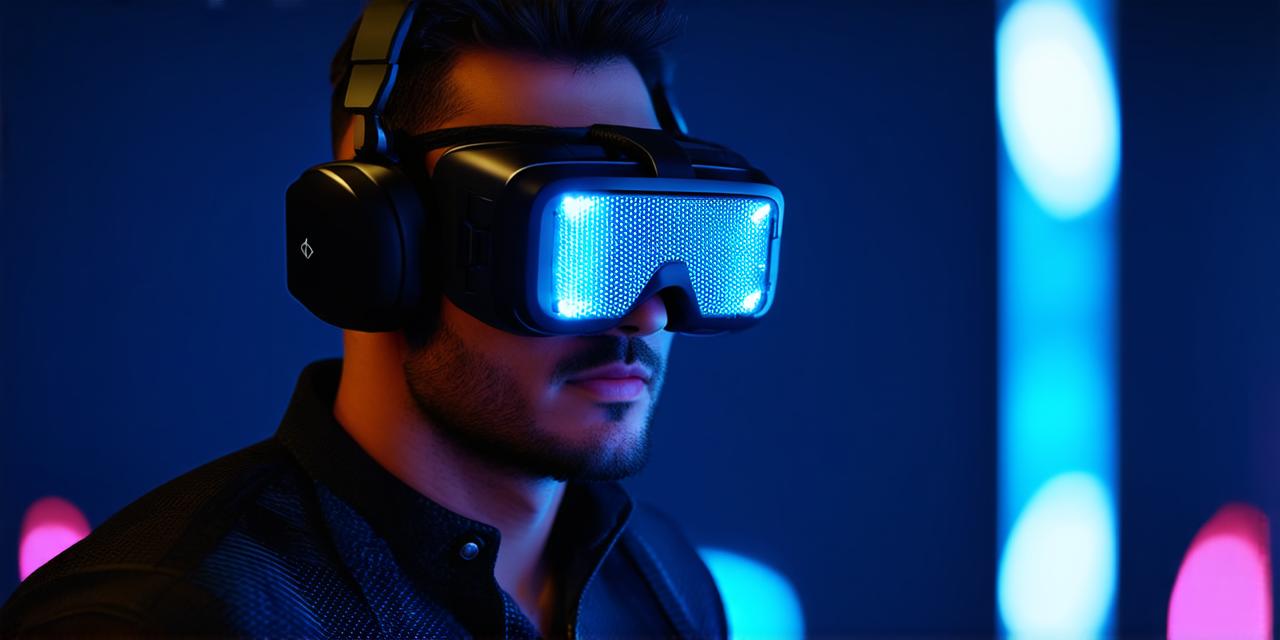
Once you have set up your VR environment, you can put on your VR headset. Make sure to adjust the headset straps and lenses to ensure that they are comfortable and securely in place. You should also check if the sensors are tracking correctly by looking at the VR software’s display.
Step 6: Explore the VR World
After putting on your headset, you can explore the VR world. The VR software will provide you with a virtual environment that you can interact with using hand or body movements. You can also use controllers to control your actions in the virtual world.
Step 7: Troubleshooting Common Issues
There are several common issues that virtual reality developers might encounter while using VR goggles. These include tracking issues, display problems, and connectivity issues. To troubleshoot these issues, you can refer to the manufacturer’s support forums or seek help from experienced VR developers.
In conclusion, using virtual reality goggles is an exciting and immersive experience. By following the steps outlined above, you can effectively use your VR headset and create compelling virtual reality experiences. Remember to choose the right VR goggles, connect them to your computer, install VR software, set up your VR environment, put on your headset, explore the VR world, and troubleshoot any issues that arise. With these steps in mind, you can take your VR development skills to the next level.


